Reaching 1000 followers for the Twitter growth case study may be way easier than I thought before. I’m at 200 less than 24 hours into the experiment.
I have set the automatic Twitter updates with different wording for the foreseeable future using Tweet-wheel.
I’m going to explain how I set up the content wheel so that you don’t have to actually be on Twitter 24×7 to post updates and get Twitter traffic.
- You’re going to need a WordPress blog or website.
- You’re going to need this plugin: Tweet Wheel.
- The Auto Tweet Machine
Before you set up the automatic tweet cycle of content component, I recommend having at least 10 blog posts published. Each one will have at least 5 tweets associated with it, that gives you about 50 tweets. This means you should be able to tweet about five times each day without repeating a tweet for 10 days.
The best situation is if you don’t repeat a tweet for 30 days or longer. As your blog and collection of content grows, you’ll be able to tweet for weeks without repeating a tweet word for word, but every tweet will be automatic.
Case study status
- Day #1
- Following: 424
- Followers: 200
The Setup
The setup is really easy, but there’s one step that may be out of the ordinary for many people. Getting developer access for Twitter, but I’ll cover that.
Install and configure Tweet Wheel
Get Tweet Wheel, then install and activate the plugin like any other plugin. Although you can use the free version of the Tweet Wheel plugin, as I get towards the end of how I do this for other accounts, you will see that the paid version is much better if you’re serious about growing traffc to your blog from your Twitter account and at the same time providing value to your readers.
Get Twitter developer access
Go to Twitter and apply for developer access, it’s easy and it’s free, just go here to do it.
Tweet Wheel, like most Twitter plugins for WordPress needs developer access
Make sure you’re logged in with the Twitter account then you’ll need to connect that user profile to the developer account, it’s easy to click to continue once you have verified that it is the right account.
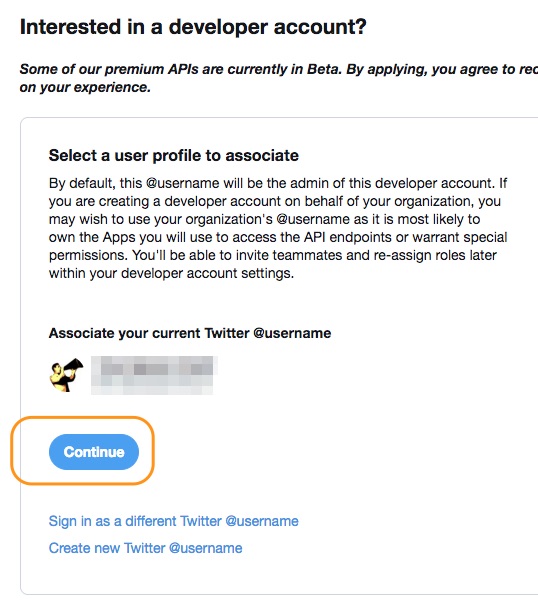
This should be the Twitter account you want to grow
On the next steps, you’ll need to designate this as a “business” or “personal” account. I use the personal access request for this since it’s just a blog and a twitter account.
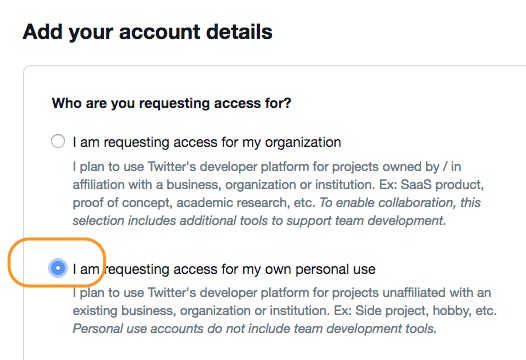
Most people only need personal use
On the next step where it asked for the name of the project, I just called it “Blog Connection” and the country of operation is United States. Told you it was easy.
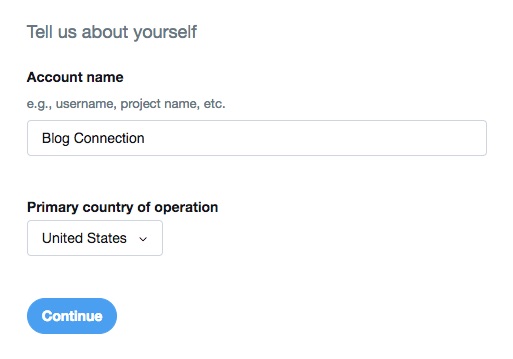
Titling this is with something relevant to your blog is a good idea
This next part can be tricky because there are so many options and if you’re just a blogger like me then you may not know what these options mean. Let’s just say that I don’t think they mean a whole lot for us as bloggers. If we were really developing an application for Twitter, I think they would be more meaningful.
You can use my screenshot as an example of what to check and what to say. If you notice, I say a whole lot of nothing.
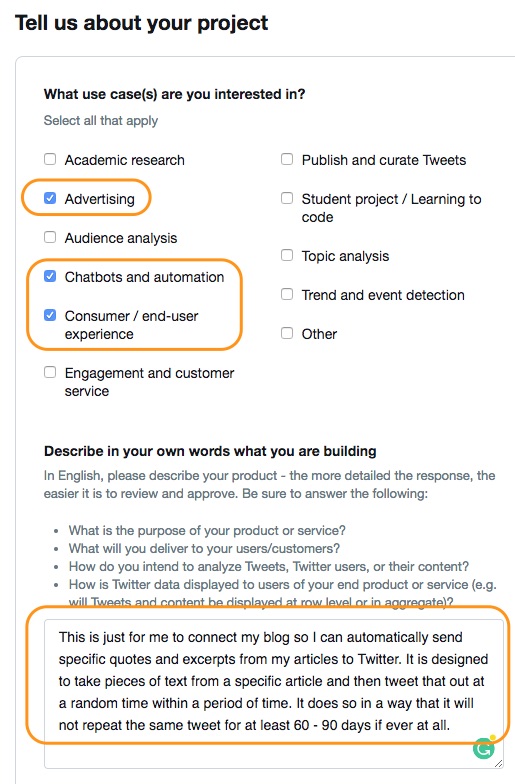
Check a couple or three of the items that interest you and give them a good description of what you’ll be using this for, or copy mine.
If you want to copy it, verbatim, here it is: “This is just for me to connect my blog so I can automatically send specific quotes and excerpts from my articles to Twitter. It is designed to take pieces of text from a specific article and then tweet that out at a random time within a period of time. It does so in a way that it will not repeat the same tweet for at least 60 – 90 days if ever at all.“
The last part, that is not in the screenshot is a question whether your project will give information to government entities, and the answer, of course, is no for that.
The last step is to accept the developer end user agreement. They also try to get you to sign up to their email list, so decide if you want to do that and continue on. This should be the end of it. I had to confirm my email address so I did that.
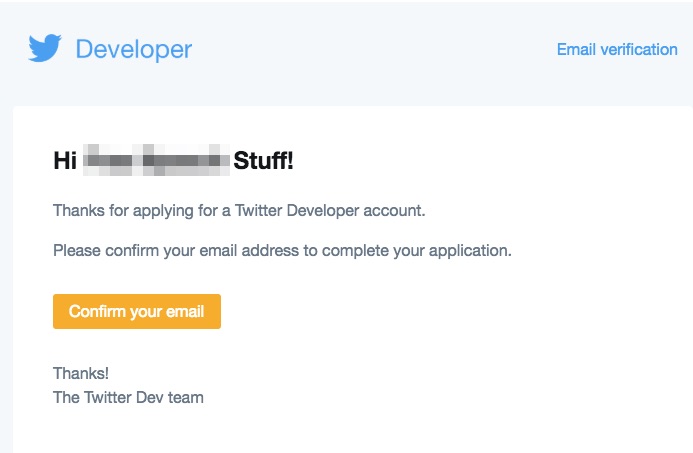
Verify just by clicking the link
After you do this, you’ll get to a screen that says the application is being reviewed and they’ll get back to you when they have decided. I’ve never been denied, so it should work for you too. If it doesn’t, re-apply in a couple days.
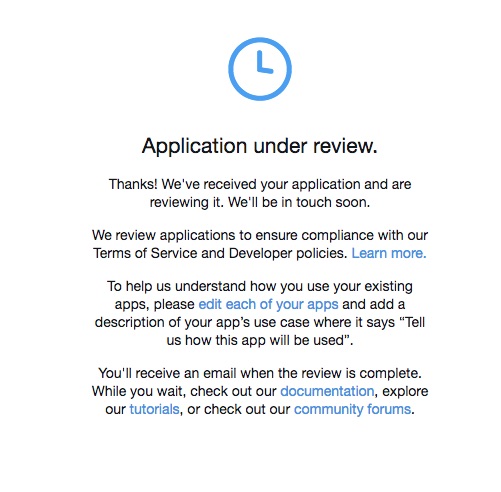
Usually, the review takes just a few minutes
Back to WordPress
Back on WordPress, using the Tweet Wheel settings, you can create a schedule for your main queue. If you’re using the free version of Tweet Wheel, you only get one queue, the paid version has multiple queues and schedules.
For this part I will be using the pro version with another website since Twitter is taking its sweet time to approve my developer application.
First, a quick overview of Tweet Wheel.
Tweet Wheel lets you create a queue of tweets to be sent out at a specified pre-scheduled time. You set up your time similar to how Buffer does it. Pick as many time slots as you want per day. Then you add posts to that queue. The result should be that your posts will be tweeted out in a round-robin fashion as the designated scheduled times come up. The part where Tweet Wheel excels in scheduling tweets is that each one of your posts that is part of the queue can have multiple tweets assigned to it.
Scheduling your Tweets with Tweet Wheel
A picture is worth 1000 words so let me explain with each screenshot.
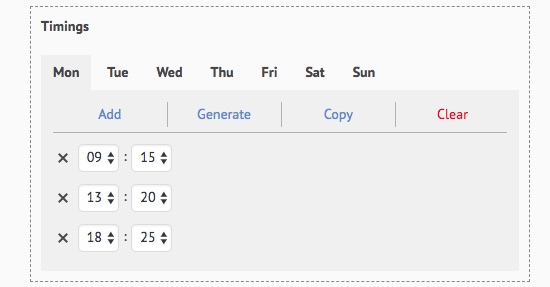
The schedule system is easy to set up and intuitive. Pick the day and add ore remove time slots.
As you can see, you can schedule as many time slots as you can fit per day. This is why it’s important to have a good amount of blog posts ready when you start using Tweet Wheel.
Using this example, if we have 3 slots per day, times 7, we’ll be tweeting 21 times each week. So you’ll need to have either 21 blog posts, or seven blog posts with three “tweet templates” each.
The templates for Tweet Wheel
Tweet Wheel uses “templates” to tweet out whatever message you want. You should use at least three separate ones per blog post. The next two screenshots will help explain.
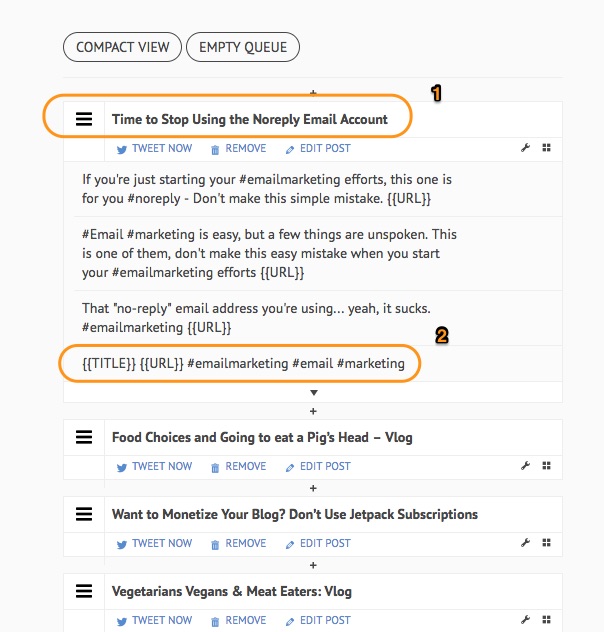
This is the Queue overview look. Showing 1) Blog post titles 2) Post templates for each blog post.
So you can see the titles in bold are the titles of the actual blog post, while the text in regular font shows what is going to be tweeted out for that post. You can edit these directly from each blog post’s edit screen, and you can add as many as you want or none at all.
The plugin will automatically use the title of the blog post and the link to the blog post as the content for the tweet.
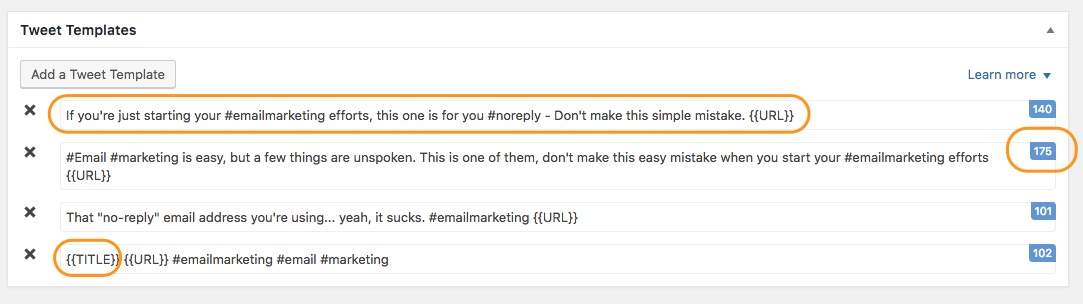
Here you can add a new tweet for a post, or edit the existing ones. Notice the two words surrounded by double brackets, those get replaced automatically.
You can see that {{TITLE}} and {{URL}} appear in some places. {{URL}} is required, but {{TITLE}} is not. this is how you can come up with different tweets. This is where you can get creative. Test out how people react to various words and messaging by adding and removing tweets over time.
You can use quotes from the article if you don’t want to get creative. You could also try different titles for the post and see how people in Twitter react to that, you can ad some posts with hashtags others without them.
Bringing it all together
The outcome should be that all the posts in the blog should be added to the queue and spread out so that the tweets don’t get repeated earlier than 30 days. As your collection of content grows, your frequency of posts per day should increase as well.
So if you have 50 blog posts, each with 5 different tweet templates (total of 250 tweets), instead of posting three times per day, you should post at least five times per day which will give you about 50 days before you repeat a tweet.
Even when increasing to 5 tweets per day, that is only five tweets per day. We really should be tweeting out more like 10 – 20 times per day AND creating some engagement.
In subsequent posts, we’ll cover how I add another 5 – 10 tweets that are current and relevant right now, and how to create engaging posts and engage with strangers on Twitter. I’ll also cover the haters saying this follow and unfollow method doesn’t work; it does work if you do it right and that’s what I teach. I’ll go over Rewst as well, but you can get a quick glance at that from a previous post here.